


")
")
")


")


Must-have tools for home mixology is, like, my latest obsession since I tried to play bartender in my tiny Denver apartment, yo. I’m typing this surrounded by empty seltzer cans (for the post-cocktail hydration), a pile of sticky napkins I’m too buzzed to toss, and, for real, a sink full of shakers and strainers I swore I’d wash after my last home bar tools disaster. My cat’s batting at a stray bottle cap, and my phone’s buzzing with Venmo requests from friends who crashed my essential mixology gear party. I’m 30, grinding retail while pretending I’m a cocktail pro, tryna figure out home mixology 2025 on a budget. So, here’s my sloppy, embarassing take on must-have tools for home mixology (and where to get them), packed with my dumb gear-buying fails and budget cocktail equipment tips I’ve learned the hard way—prolly spilled gin on my couch again, oops.
Why Must-Have Tools for Home Mixology Has Me Stressed About My Wallet
I’m legit awful at picking home bar tools without looking like a total rookie. Like, I once dropped $40 on a fancy shaker that I broke in a week—yep, I was shaking a cocktail in my car while eating a taco and dropped it on the floorboard. But, real talk, must-have tools for home mixology is a game-changer, with Liquor.com saying you don’t need to spend a ton to make dope drinks. That’s enough to make me rethink my impulse Amazon buys, for real. So, these essential mixology gear tips are my shot at building a bar setup without my bank account throwing shade. Also, I might’ve spelled “mixology” as “mixoligy” in my notes—classic me.
Must-Have Tools for Home Mixology (And My Fails)
Alright, here’s my rundown of seven must-have tools for home mixology and where to snag ‘em, based on my tipsy shopping sprees and some legit sources I googled at 3 a.m. I’ve nailed some, totally botched others, and, yeah, learned a bit through my screw-ups.
Dumb Move: I used a mug and spilled everywhere.axx/Marshalls often have great deals on glassware. You don’t need crystal; just something that feels good in your hand and looks decent.
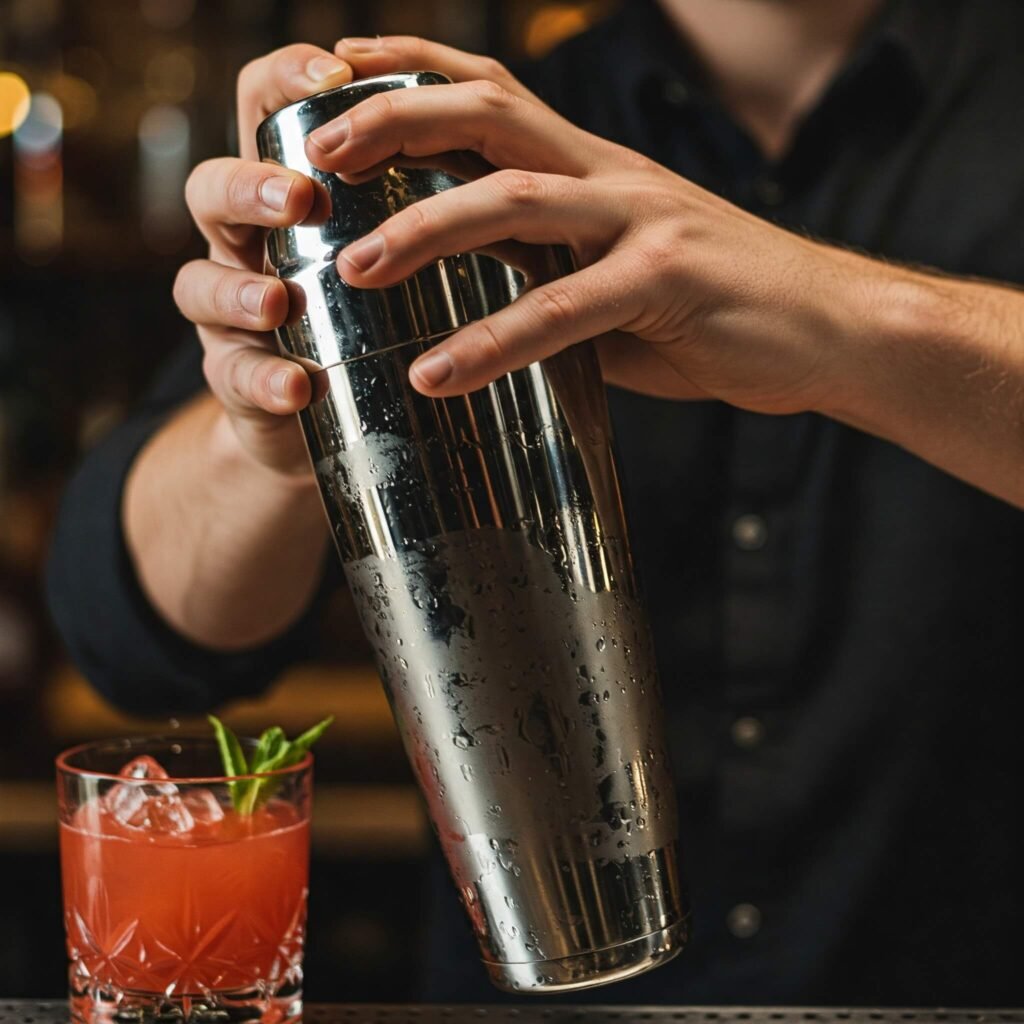
Cocktail Shaker: A sturdy shaker is key for mixing. Liquor.com loves it (check Liquor.com). Get it at Target for ~$15.
My Dumb Moment: I bought a cheap one and it leaked everywhere.
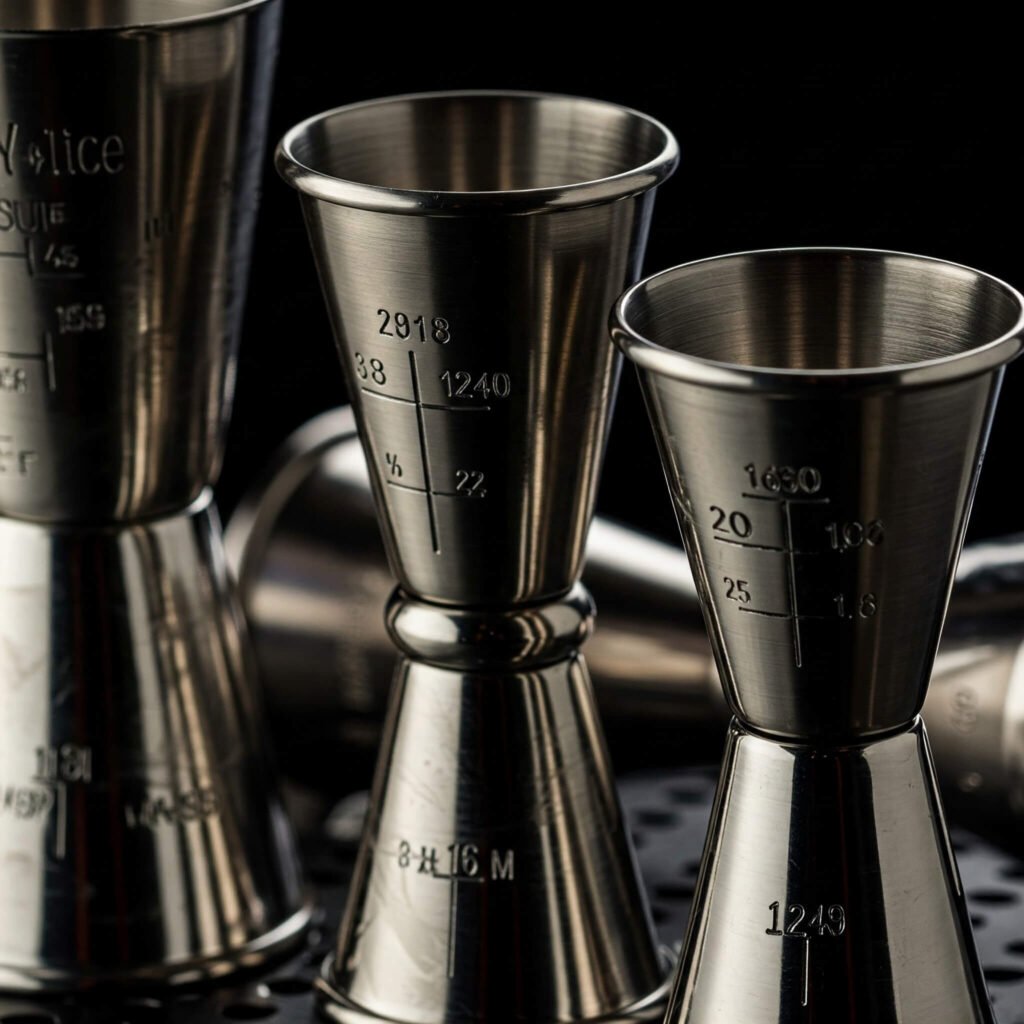
Jigger: Measure like a pro with a double-sided jigger. VinePair backs it (see VinePair). Amazon has ‘em for $8.
Cringe Alert: I used a shot glass to measure and got way too tipsy.
Muddler: Crush herbs and fruit right. Food & Wine explains (check Food & Wine). Walmart, ~$10.
Oops: I used a spoon to muddle and crushed my glass.
Strainer: Keeps ice and bits out of your drink. The Spruce Eats suggests it (see The Spruce Eats). Target, ~$7.
My Fail: I skipped the strainer and got pulp in my drink.
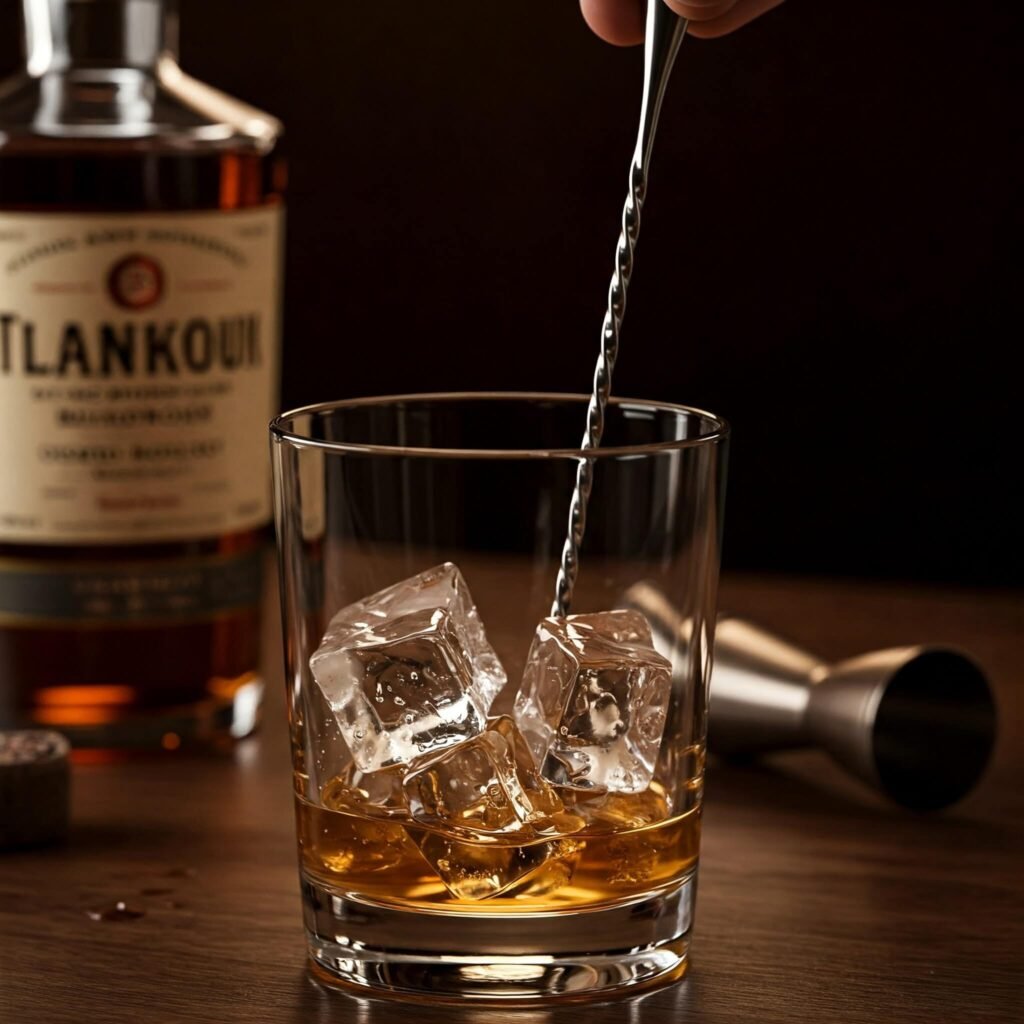
Bar Spoon: For stirring, not slurping. Bon Appétit loves it (see Bon Appétit). Amazon, ~$5.
Embarassing Bit: I stirred with a fork and scratched my glass.
Citrus Juicer: Fresh juice is a must. Forbes details it (see Forbes). Bed Bath & Beyond, ~$12.
My Mess: I hand-squeezed limes and got juice in my eye.
Mixing Glass: For smooth stirring. Wine Enthusiast suggests it (see Wine Enthusiast). Crate & Barrel, ~$15.
How I Keep Screwing Up Must-Have Tools for Home Mixology
Okay, budget cocktail equipment is not my forte, no cap. Like, I once spent hours on X scrolling “home mixology 2025” instead of organizing my bar cart—classic procrastination move that left me with a $50 Amazon cart and a broken shaker. Nevertheless, here’s what I’ve figured out from my chaos:
- Buy Durable Stuff: I got a flimsy shaker and it dented fast. Spend a bit more, yo (check Liquor.com).
- Start Basic: I bought fancy tools I didn’t need. Stick to essentials.
- Ask for Advice: I DM’d a bartender on X, and they dropped dope home bar tools tips. Network, y’all.
- Shop Smart: I overpaid at a boutique store. Check Target or Amazon.
The Spruce Eats says you can build a bar setup cheap if you’re smart, and I’m tryna get there without botching it again (see The Spruce Eats). Oh, and I just knocked over a seltzer can—great, more mess.
Finding Your Own Must-Have Tools for Home Mixology Groove
Figuring out must-have tools for home mixology is, like, picking the right taco topping—personal, messy, and a lil’ stressful. Here’s my advice, straight from my taco-crumb-covered couch (and a spilled seltzer, oops):
- Know Your Vibe: I’m into simple tools for quick drinks. What’s your bar style?
- Start Small, Dude: Don’t buy a full kit at once. I did and, for real, regretted it. Get a shaker first.
- Use Cool Resources: Liquor.com and The Spruce Eats got dope essential mixology gear tips. VinePair’s guides are clutch too.
- Track Your Buys: I note what I use every Sunday—nerdy, but it keeps me from bad purchases.
Wrapping Up My Must-Have Tools for Home Mixology Chaos
So, yeah, I’m still a hot mess with must-have tools for home mixology, sitting here in my Denver chaos with my cat judging my boozy, frazzled life. I’ve cried over broken shakers, scarfed too many tacos while recovering, and, for real, still forget to check my tools before mixing half the time. But, like, these budget cocktail equipment tips have kept me from totally tanking my mixology dreams. Check out Liquor.com or The Spruce Eats for more home bar tools advice if you’re curious (Liquor.com, The Spruce Eats). Anyway, I’m just tryna mix drinks without going broke.
Outbound Links:
A humorous take on common bartending myths (Because who doesn’t love a good myth-busting?)
A classic cocktail recipe guide (like, the actual definitions!) (For when you’ve got your tools and are ready to try something new!)


")

